Adding react-navigation to your expo app

Navigation is fundamental in any mobile application. In this post, we'll add navigation to our Expo app using react-navigation, one of the best and most widely used community libraries.
expo
We're going to use the archetypical arquitecture of mobile apps, a tab-navigator view.
When we tap one of the cards, it takes us to the relevant screen, which is rendered over the navigation bar.
Installing react-navigation
Execute these commands in the root of your project to install react-navigation:
yarn add @react-navigation/native

expo install react-native-gesture-handler react-native-reanimated react-native-screens react-native-safe-area-context @react-native-community/masked-view

yarn add @react-navigation/stack

yarn add @react-navigation/bottom-tabs
Navigator structure
The objective is to create a main stack-navigator which will contain the tab-navigator and each one of the screens that we'll be adding to our app.
.
├── src
│   ├── navigation
│   │   ├── index.js
│   │   ├── MainStackNavigator.js
│   │   └── TabNavigator.js
│   ├── scenes
│   └── components
└── App.js
As we did with the Button component, we'll be creating the files index.js, MainStackNavigator.js and TabNavigator.js as shown above.
If you're lost you can check out our previous post on project organization and best practices.
Creating the screens
Before creating the navigators, we'll create three basic screens that will make up our application. A home screen, a search screen and a profile screen.
├── src
│   ├── navigation
│   ├── scenes
│   │   ├── home
│   │   │   └── index.js
│   │   ├── search
│   │   │   └── index.js
│   │   └── profile
│   │       └── index.js
│   └── components
└── App.js
At this stage they will be very simple screens with just a label and a background color, as we'll be focusing on navigation for this post.
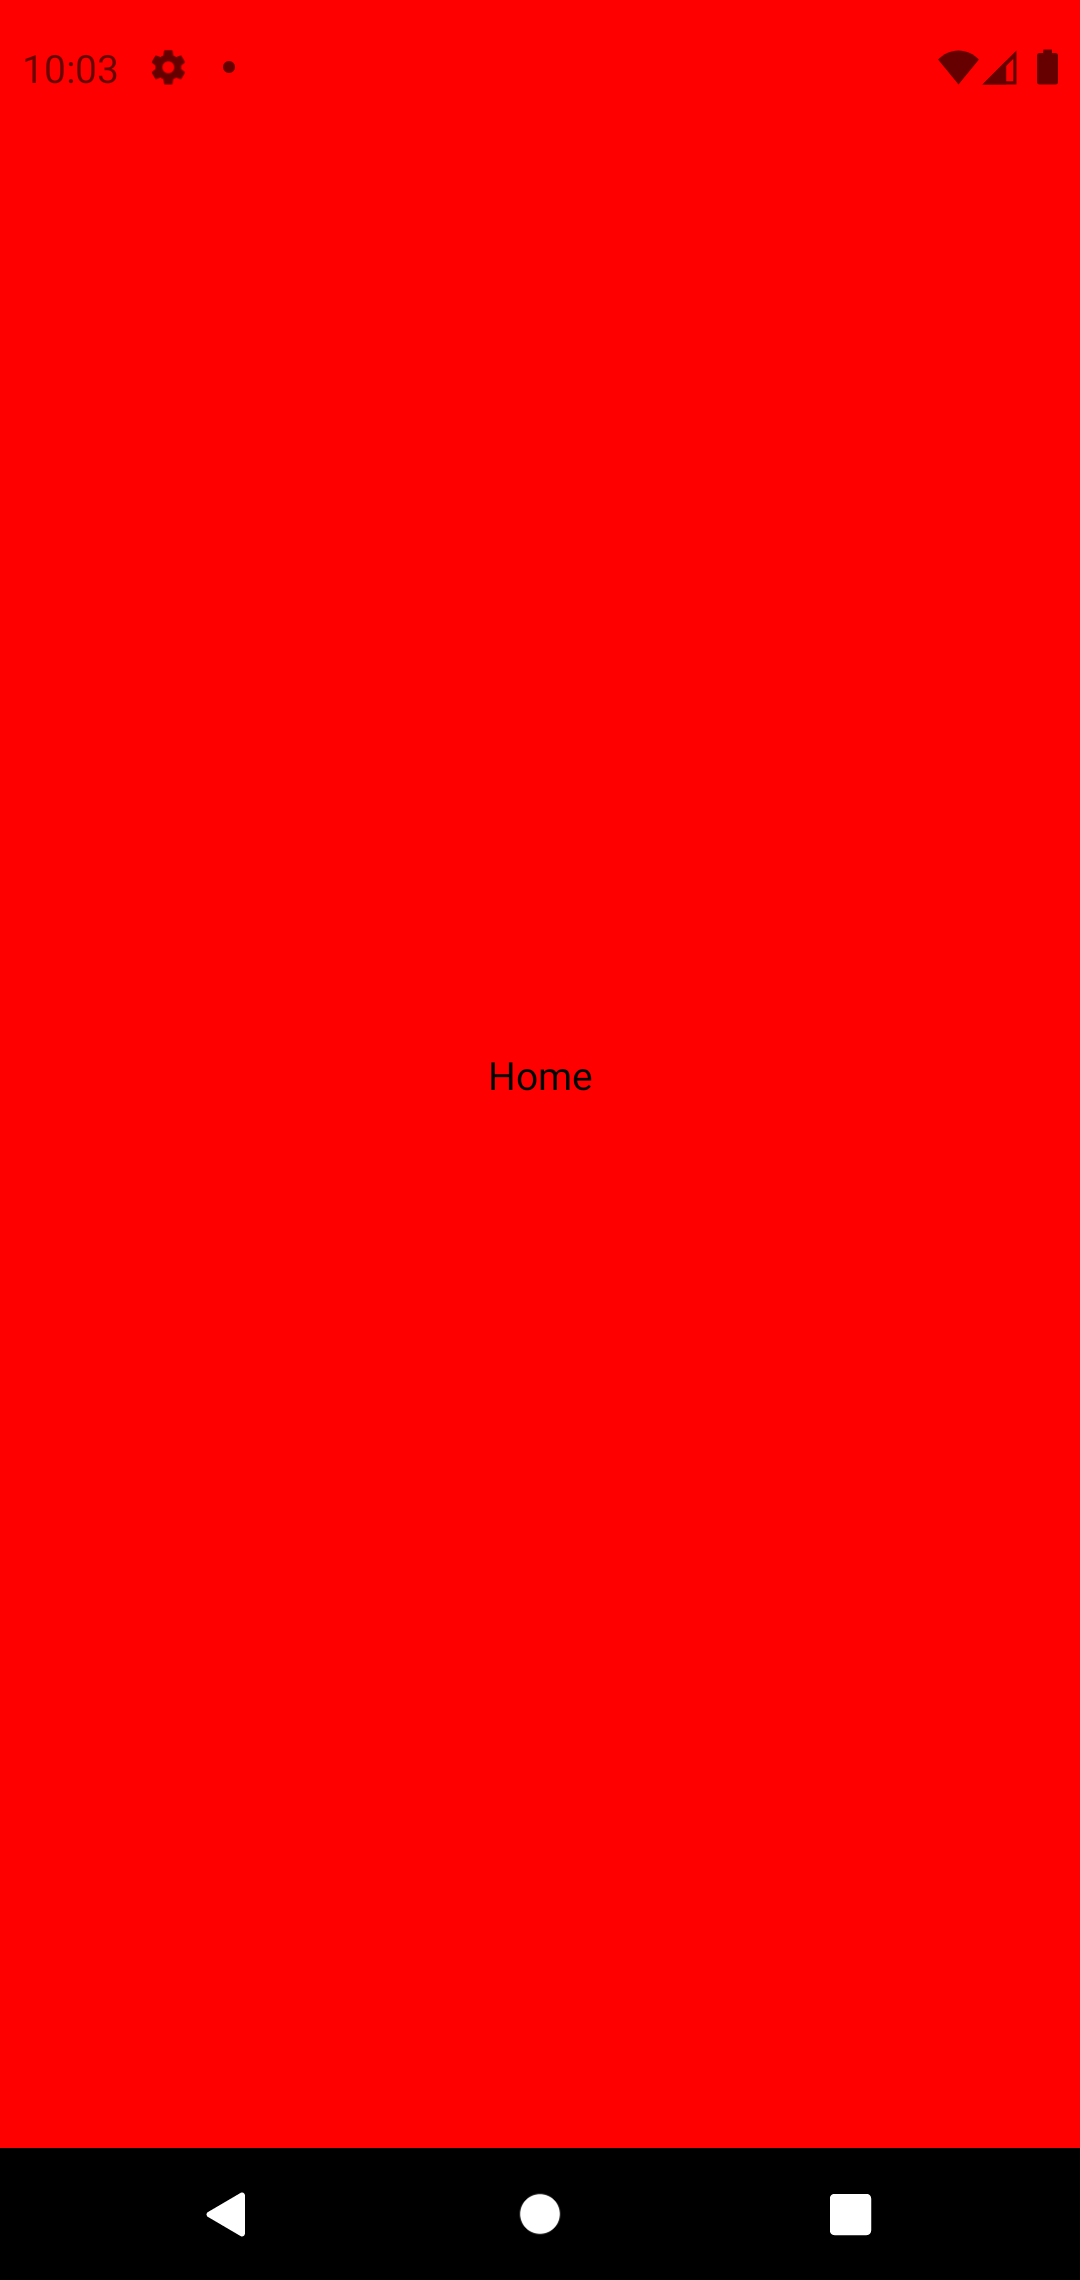
import React from 'react';
import { SafeAreaView, StyleSheet, Text } from 'react-native';


export const HomeScreen = ({}) => {

    return(
        <SafeAreaView style={styles.container}>
            <Text>Home</Text>
        </SafeAreaView>
    )
}

const styles = StyleSheet.create({
    container: {
        flex: 1,
        backgroundColor: 'red',
        alignItems: 'center',
        justifyContent: 'center',
    },
});
Create the files SearchScreen.js and ProfileScreen.js as we have just done for the home screen.
As a quick note, SafeAreaView is a component that helps us prevent our screen content from being rendered in the notch area on the iPhone.
Creating the TabNavigator
We instantiate the TabNavigator with some basic options:
- Specify that the initial route will be the Home screen.
- We'll not be using a header at this time
- The tab bar will be a component that we'll code in a minute
- We specify that the keyboard will be drawn on top of the tab bar
- Lastly, we set the back button to do nothing (for Android)
import React from 'react';
import { createBottomTabNavigator } from '@react-navigation/bottom-tabs';


const Tab = createBottomTabNavigator();

export const TabNavigator = () => {
    return (
        <SafeAreaView style={ { flex: 1, backgroundColor: '#fff' }}>
            <Tab.Navigator
                initialRouteName='Home'
                header={null}
                headerMode='none'
                tabBar={props => <TabBar {...props} />}
                tabBarOptions= {{
                    keyboardHidesTabBar: true
                }}
                backBehavior={'none'}
            >

            </Tab.Navigator>
        </SafeAreaView>
    )
}
Now we'll add our three screens. First, we import them
import { HomeScreen } from '@scenes/home';
import { SearchScreen } from '@scenes/search';
import { ProfileScreen } from '@scenes/profile';
and we add them to the TabNavigator:
export const TabNavigator = () => {
return (
    <SafeAreaView style={{ flex: 1, backgroundColor: '#fff' }}>
        <Tab.Navigator
            initialRouteName='Home'
            header={null}
            headerMode='none'
            tabBar={props => <TabBar {...props} />}
            tabBarOptions={{
                keyboardHidesTabBar: true
            }}
            backBehavior={'none'}
        >

            <Tab.Screen
                name='Home'
                component={HomeScreen}
            />
            <Tab.Screen
                name='Search'
                component={SearchScreen}
            />
            <Tab.Screen
                name='Profile'
                component={ProfileScreen}
            />

        </Tab.Navigator>
    </SafeAreaView>
    )
}
What's left is to create the TabBar component to enable the user to switch screens. We create a view with horizontal flex direction and height of 64 when its visible (we'll define what visible is in just a minute). We also add a border at the top.
const TabBar = ({ state, descriptors, navigation }) => {

return (

  <View style={{
      flexDirection: 'row',
      backgroundColor: '#000',
      maxHeight: visible ? 64 : 0,
      borderTopWidth: 0.5,
      borderTopColor: 'black'
  }}>
 </View>

  );}
We have to create each of the buttons that make up the TabBar. To choose the icons I recommend you visit the Expo icon libraries and choose the ones you like the most.
Import the icon libraries you need. In my case, it will be enough with these:
import { Ionicons, Entypo, FontAwesome } from '@expo/vector-icons';
And incorporate them inside the TabBar component:
const visible = true;

return (
    <View style={{
      flexDirection: 'row',
      backgroundColor: '#000',
      maxHeight: visible ? 64 : 0, borderTopWidth: 0.5,
      borderTopColor: 'black'
    }}>
        { state.routes.map((route, index) => {
            const label = route.name;
            const isFocused = state.index === index;

            const onPress = () => {
                if(!isFocused){
                    navigation.navigate(route.name);
                }
            };

            return (
                <TouchableOpacity
                    onPress={onPress}
                    activeOpacity={1}
                    key={label}
                    style={[{
                      minHeight: 48,
                      flex: 1,
                      alignItems: 'center',
                      justifyContent: 'center', marginBottom: 2 }]}
                >
                    {label === 'Home' && <Ionicons name="home" size={24} color="white" />}
                    {label === 'Search' && <Entypo name="magnifying-glass" size={24} color="white" />}
                    {label === 'Profile' && <FontAwesome name="user" size={24} color="white" />}
                </TouchableOpacity>
            );
        })}
    </View>
);
Let's go over some of the code you probably just copy and pasted into your project:
We iterate over each of the screens that make up our
TabNavigatorwithstates.routes.mapand we create a button for each of them. To each button, we associate an event handler so that when the user taps it the relevant screen is opened, as long as the user doesn't tap the current screen (this is handled with theisFocusedoption). Finally we add the corresponding label.
Hiding the navigation bar when the keyboard is shown
We can define what happens to our navigation bar when the keyboard is shown. For that we utilize the useEffect hook which runs every time the screen is mounted, and the useState hook which preserves the state inside the screen.
If you don't have a super clear picture of how hooks work and what they are for, no worries! We'll be going over them in detail in a later post. Or you can check out the documentation.
Add the following code in the TabBar component before the return statement:
const [visible, setVisible] = useState(true);

const keyboardWillShow = () => {
    setVisible(false);
};

const keyboardWillHide = () => {
    setVisible(true);
};

useEffect(() => {
    const keyboardWillShowSub = Keyboard.addListener(Platform.select({ android: 'keyboardDidShow', ios: 'keyboardWillShow' }), keyboardWillShow);
    const keyboardWillHideSub = Keyboard.addListener(Platform.select({ android: 'keyboardDidHide', ios: 'keyboardWillHide' }), keyboardWillHide);
    return () => {
        keyboardWillShowSub.remove();
        keyboardWillHideSub.remove();
    }
}, [])
Add a listener to make the TabBar hidden when the keyboard is show, and to make it visible again when the keyboard disappears. We use the visible variable for this.
All in all our TabNavigator.js should look something like this:
import { createBottomTabNavigator } from '@react-navigation/bottom-tabs';
import { Ionicons, Entypo, FontAwesome } from '@expo/vector-icons';


import { HomeScreen } from '@scenes/home';
import { SearchScreen } from '@scenes/search';
import { ProfileScreen } from '@scenes/profile';

const TabBar = ({ state, navigation }) => {

  const [visible, setVisible] = useState(true);

  const keyboardWillShow = () => {
      setVisible(false);
  };

  const keyboardWillHide = () => {
      setVisible(true);
  };

  useEffect(() => {
      const keyboardWillShowSub = Keyboard.addListener(Platform.select({ android: 'keyboardDidShow', ios: 'keyboardWillShow' }), keyboardWillShow);
      const keyboardWillHideSub = Keyboard.addListener(Platform.select({ android: 'keyboardDidHide', ios: 'keyboardWillHide' }), keyboardWillHide);
      return () => {
          keyboardWillShowSub.remove();
          keyboardWillHideSub.remove();
      }
  }, [])

  return (

    <View style={{
      flexDirection: 'row',
      backgroundColor: '#000',
      maxHeight: visible ? 64 : 0,
      borderTopWidth: 0.5,
      borderTopColor: 'black' }}
    >
        { state.routes.map((route, index) => {
            const label = route.name;
            const isFocused = state.index === index;

            const onPress = () => {
                if(!isFocused){
                    navigation.navigate(route.name);
                }
            };

                return (
                    <TouchableOpacity
                        onPress={onPress}
                        activeOpacity={1}
                        key={label}
                        style={[{
                          minHeight: 48,
                          flex: 1,
                          alignItems: 'center',
                          justifyContent: 'center',
                          marginBottom: 2
                        }]}
                    >
                        {label === 'Home' && <Ionicons name="home" size={24} color="white" />}
                        {label === 'Search' && <Entypo name="magnifying-glass" size={24} color="white" />}
                        {label === 'Profile' && <FontAwesome name="user" size={24} color="white" />}
                    </TouchableOpacity>
                );
        })}
    </View>
  );
}

const Tab = createBottomTabNavigator();

export const TabNavigator = () => {
    return (
        <SafeAreaView style={{
          flexGrow: 1,
          backgroundColor: 'purple'
        }}>
            <Tab.Navigator
                initialRouteName='Home'
                header={null}
                headerMode='none'
                tabBar={props => <TabBar {...props} />}
                tabBarOptions={{
                    keyboardHidesTabBar: true
                }}
                backBehavior={'none'}
            >
                <Tab.Screen
                    name='Home'
                    component={HomeScreen}
                />
                <Tab.Screen
                    name='Search'
                    component={SearchScreen}
                />
                <Tab.Screen
                    name='Profile'
                    component={ProfileScreen}
                />
            </Tab.Navigator>
        </SafeAreaView>
    )
}
As always, it's a good idea to read the documentation on TabNavigators in React Navigation to learn about all the options available.
Creating the StackNavigator
If you feel this is taking forever, relax, the hardest part is already over!
To create the StackNavigator we only need to instantiate it and configure what we just did above.
import React from 'react';
import { createStackNavigator } from '@react-navigation/stack';
import { TabNavigator } from './TabNavigator';

const Stack = createStackNavigator();

export const MainStackNavigator = ({}) => {
  return (
      <Stack.Navigator
          initialRouteName={'Tab'}
          header={null}
          headerMode='none'
          mode={'card'}
      >
          <Stack.Screen
              name='Tab'
              component={TabNavigator}
          />
      </Stack.Navigator>
  )}
We've specified that we won't be using any header and that the initial route is the Screen which contains our TabNavigator.
Add the navigators to the app
import React from 'react';
import { NavigationContainer} from '@react-navigation/native';
import { MainStackNavigator } from './MainStackNavigator';

const RootNavigator = ({}) =>

    return (
        <NavigationContainer >
            <MainStackNavigator />
        </NavigationContainer>
    )
}

export default RootNavigator;
For the Navigators to work, they have to be contained in a NavigationContainer. It may not look like much now, but there are a lot of navigator properties which can only be instantiated from the NavigationContainer, such as the deep linking behavior (we'll cover that in another post).
Since it is the only component we'll be exporting from this file, we use export default.
Now we import it from App.js
import React from 'react';
import { StyleSheet, Text, View } from 'react-native';
import Navigator from './src/navigation';

export default function App() {
  return (
    <View style={styles.container}>
      <Navigator />
    </View>
  );
}

const styles = StyleSheet.create({
  container: {
    flex: 1,
    backgroundColor: '#fff',
  },
});
Es importarte eliminar del estilo las propiedades:
alignItems: 'center',
justifyContent: 'center'
Your app should be looking something like this. If you have questionos or need to learn more about how react-navigation works, you'll have to go over the documentation once more.
Adding another screen and a navigation button
Now we are goint go create another screen for details, which will be reached by tapping a button. In the future, this can be a card that takes you to a new screen that contains more information about an item.
.
├── src
│   ├── navigation
│   ├── scenes
│   │   ├── home
│   │   │   └── index.js
│   │   ├── search
│   │   │   └── index.js
│   │   ├── profile
│   │   │   └── index.js
│   │   └── details
│   │       └── index.js
│   └── components
└── App.js
And we add the screen to the stack navigator.
export const MainStackNavigator = ({}) => {

    return (
        <Stack.Navigator
            initialRouteName={'Tab'}
            header={null}
            headerMode='none'
            mode={'card'}
        >
            <Stack.Screen
                name='Tab'
                component={TabNavigator}
            />
            <Stack.Screen
                name='Details'
                component={DetailsScreen}
            />
        </Stack.Navigator>
    )
}
Now we create the button to reach this DetailScreen in HomeScreen.js.
export const HomeScreen = ({navigation}) => {

    return(
        <SafeAreaView style={styles.container}>
            <Text>Home</Text>
            <Button
                style={{ width: 200, heigh: 50, backgroundColor: 'white'}}
                text='navigate'
                onPress={() => navigation.navigate('Details')}
            />
        </SafeAreaView>
    )
}
We need to make a small change to our Button.js component, so that we can pass the onPress prop to handle taps.
export const Button = ({text, style, onPress}) => {

    return(
        <TouchableOpacity style={{...style, ...styles.container}} onPress={onPress}>
            <Text>{text}</Text>
        </TouchableOpacity>
    )
}
If you copied the code correctly and followed every step, this should be working.
Top navigation bar
Finally, we're going to add a navigation bar at the top. Among other things, this will enable the user to go back to the previous creen. We add it to the MainStackNavigator.js screens.
For this, we remove the following props from StackNavigator
header={null}
headerMode='none'
And specify that the title of the screens must be centered using the options prop of Stack.Screen.
export const MainStackNavigator = ({}) => {

    return (
        <Stack.Navigator
            initialRouteName={'Tab'}
            mode={'card'}
        >
            <Stack.Screen
                name='Tab'
                component={TabNavigator}
                options={{
                    headerTitleAlign: 'center',
                }}
            />
            <Stack.Screen
                name='Details'
                component={DetailsScreen}
                options={{
                    headerTitleAlign: 'center',
                }}
            />
        </Stack.Navigator>
    )
}
Since we don't want the title of all screens in the TabNavigator to be the same, we'll use the function getFocusedRouteNameFromRoute to choose the TabNavigator title dynamically in MainStackNavigator.js.
import { getFocusedRouteNameFromRoute } from '@react-navigation/native';

const getHeaderTitle(route) = () => {
    // If the focused route is not found, we need to assume it's the initial screen
    // This can happen during if there hasn't been any navigation inside the screen
    // In our case, it's "Home" as that's the first screen inside the navigator
    const routeName = getFocusedRouteNameFromRoute(route) ?? 'Home';

    switch (routeName) {
        case 'Home':
            return 'Home';
        case 'Search':
            return 'Search';
        case 'Profile':
            return 'Profile';
    }
}
And we specify that the title is chosen with that function via the option prop.
<Stack.Screen
    name='Tab'
    component={TabNavigator}
    options={({ route }) => ({
        headerTitle: getHeaderTitle(route),
        headerTitleAlign: true
    })}
/>
If you want to learn about all the options you can always check out the react-navigation documentation:
Changing the navigation animation
Configure the options object:
const navigatorOptions = {
    gestureDirection: 'horizontal',
    cardStyleInterpolator: ({ current, layouts }) => {
        return {
            cardStyle: {
                transform: [
                    {
                        translateX: current.progress.interpolate({
                            inputRange: [0, 1],
                            outputRange: [layouts.screen.width, 0],
                        }),
                    },
                ],
                opacity: current.progress.interpolate({
                    inputRange: [0, 1],
                    outputRange: [0, 1],
                })
            },
        };
    },
};
and set the screenOptions prop to reference it
<Stack.Navigator
    initialRouteName={'Tab'}
    mode={'card'}
    screenOptions={navigatorOptions}
>
    <Stack.Screen
        name='Tab'
        component={TabNavigator}
        options={{
            headerShown: false,
        }}
    />
    <Stack.Screen
        name='Details'
        component={DetailsScreen}
        options={{
            headerTitleAlign: 'center',
        }}
    />
</Stack.Navigator>
I know this was perhaps not the most exciting post of all time, but at least I hope it was useful.
See you in the next one!
